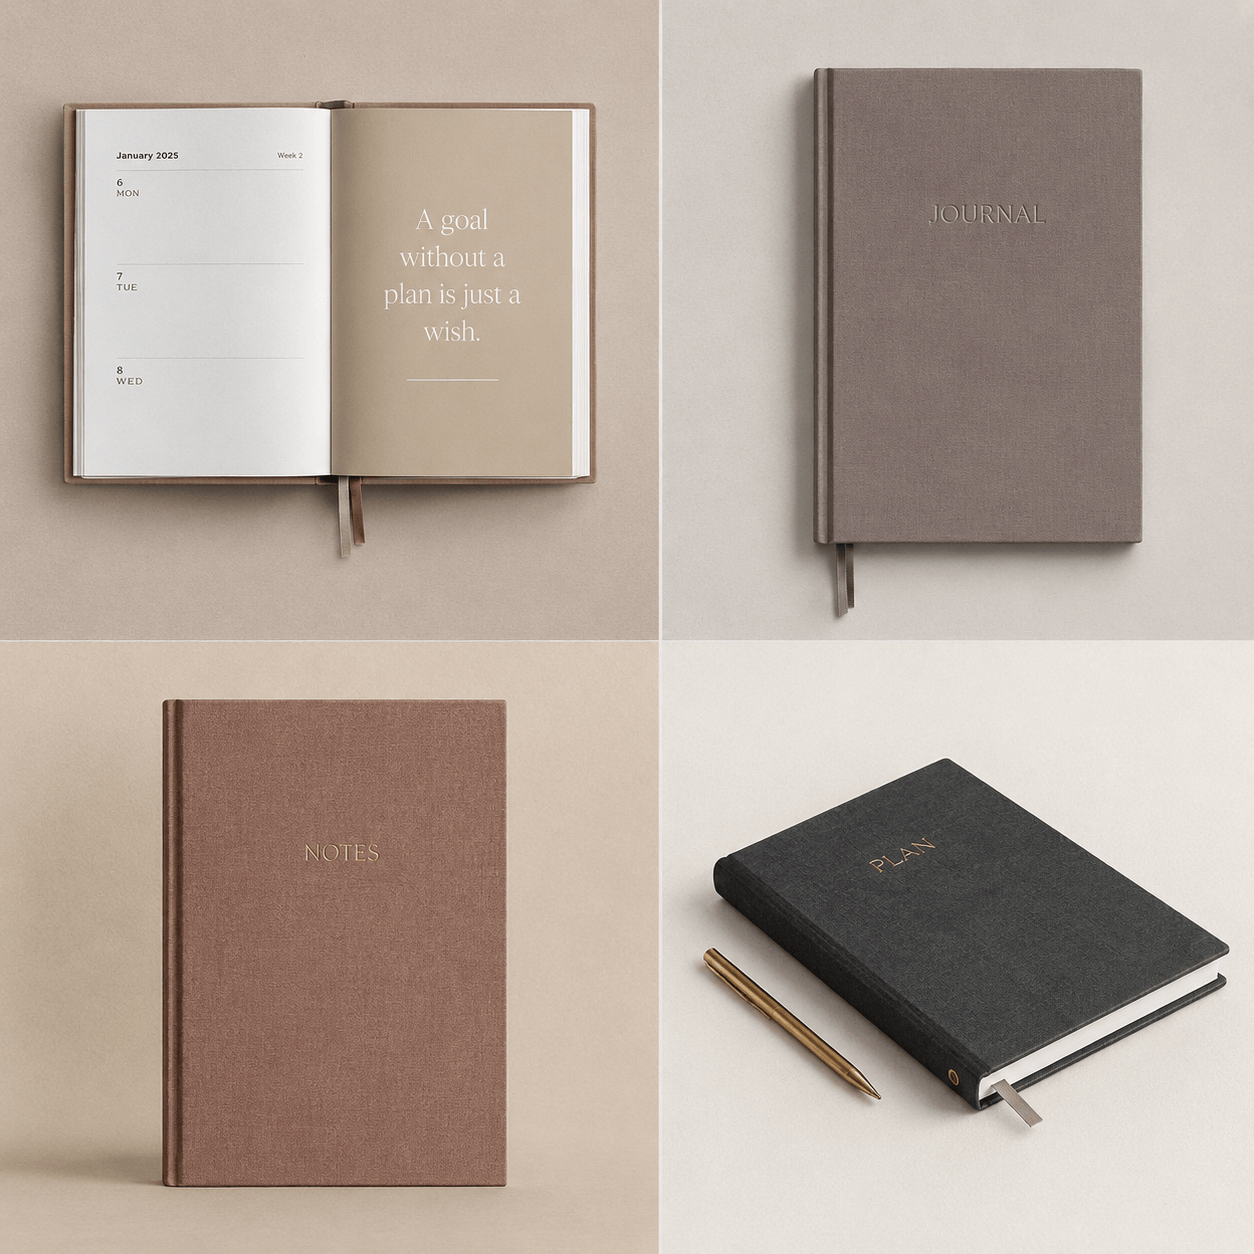
8 Home Office Upgrades Under $60 That Look Like a Pinterest Dream
Turn a boring work corner into an aesthetic, functional office without a real budget
My "home office" for the first year of remote work was a dining chair pulled up to a folding table in the corner of my bedroom, lit entirely by whatever overhead fixture came with the apartment. I told myself it didn't matter, work is work, the space around it is irrelevant. I believed that right up until the day I actually sat in someone else's home office, warm light, one plant, a wall that wasn't just bare drywall, and noticed how differently I felt starting a task there.
It wasn't a bigger desk. It wasn't a more expensive chair. It was a handful of small, specific choices, most of them under $15 individually, that made the difference between a corner I tolerated and a space I actually wanted to sit down in every morning.
A quick note before we start: a few of the stories ahead are shared as told to me directly, and a few are offered as illustrative examples to make a principle easier to picture, I've tried to be clear about which is which rather than presenting every anecdote as independently verified. A practical note on the budget itself: picking five or six of these rather than all eight is realistically how most people land near the $60 mark; doing all eight thoroughly may land somewhat higher depending on the specific products you choose.
Here are the eight changes that actually mattered, why each one does real psychological work, and how to adapt them to a work corner that isn't a dedicated room at all.
Table of Contents
- A Warm Desk Lamp Instead of Overhead Light
- A Wall-Mounted Organizer Above the Desk
- A Cohesive Desk Accessory Tray
- One Genuinely Alive Plant
- Real Cord and Cable Management
- One Piece of Art at Eye Level
- A Small Rug to Define the Zone
- A Styled Shelf or Wall Behind You (Yes, for Video Calls Too)
- The Psychology of Why a Nicer Desk Improves Focus
- Mapping a Work Zone Inside a Shared Room
- Common Home Office Styling Mistakes
- Which Upgrades to Do First If Your Budget Is Tight
- The Full Cost Comparison
- Common Questions
A Warm Desk Lamp Instead of Overhead Light
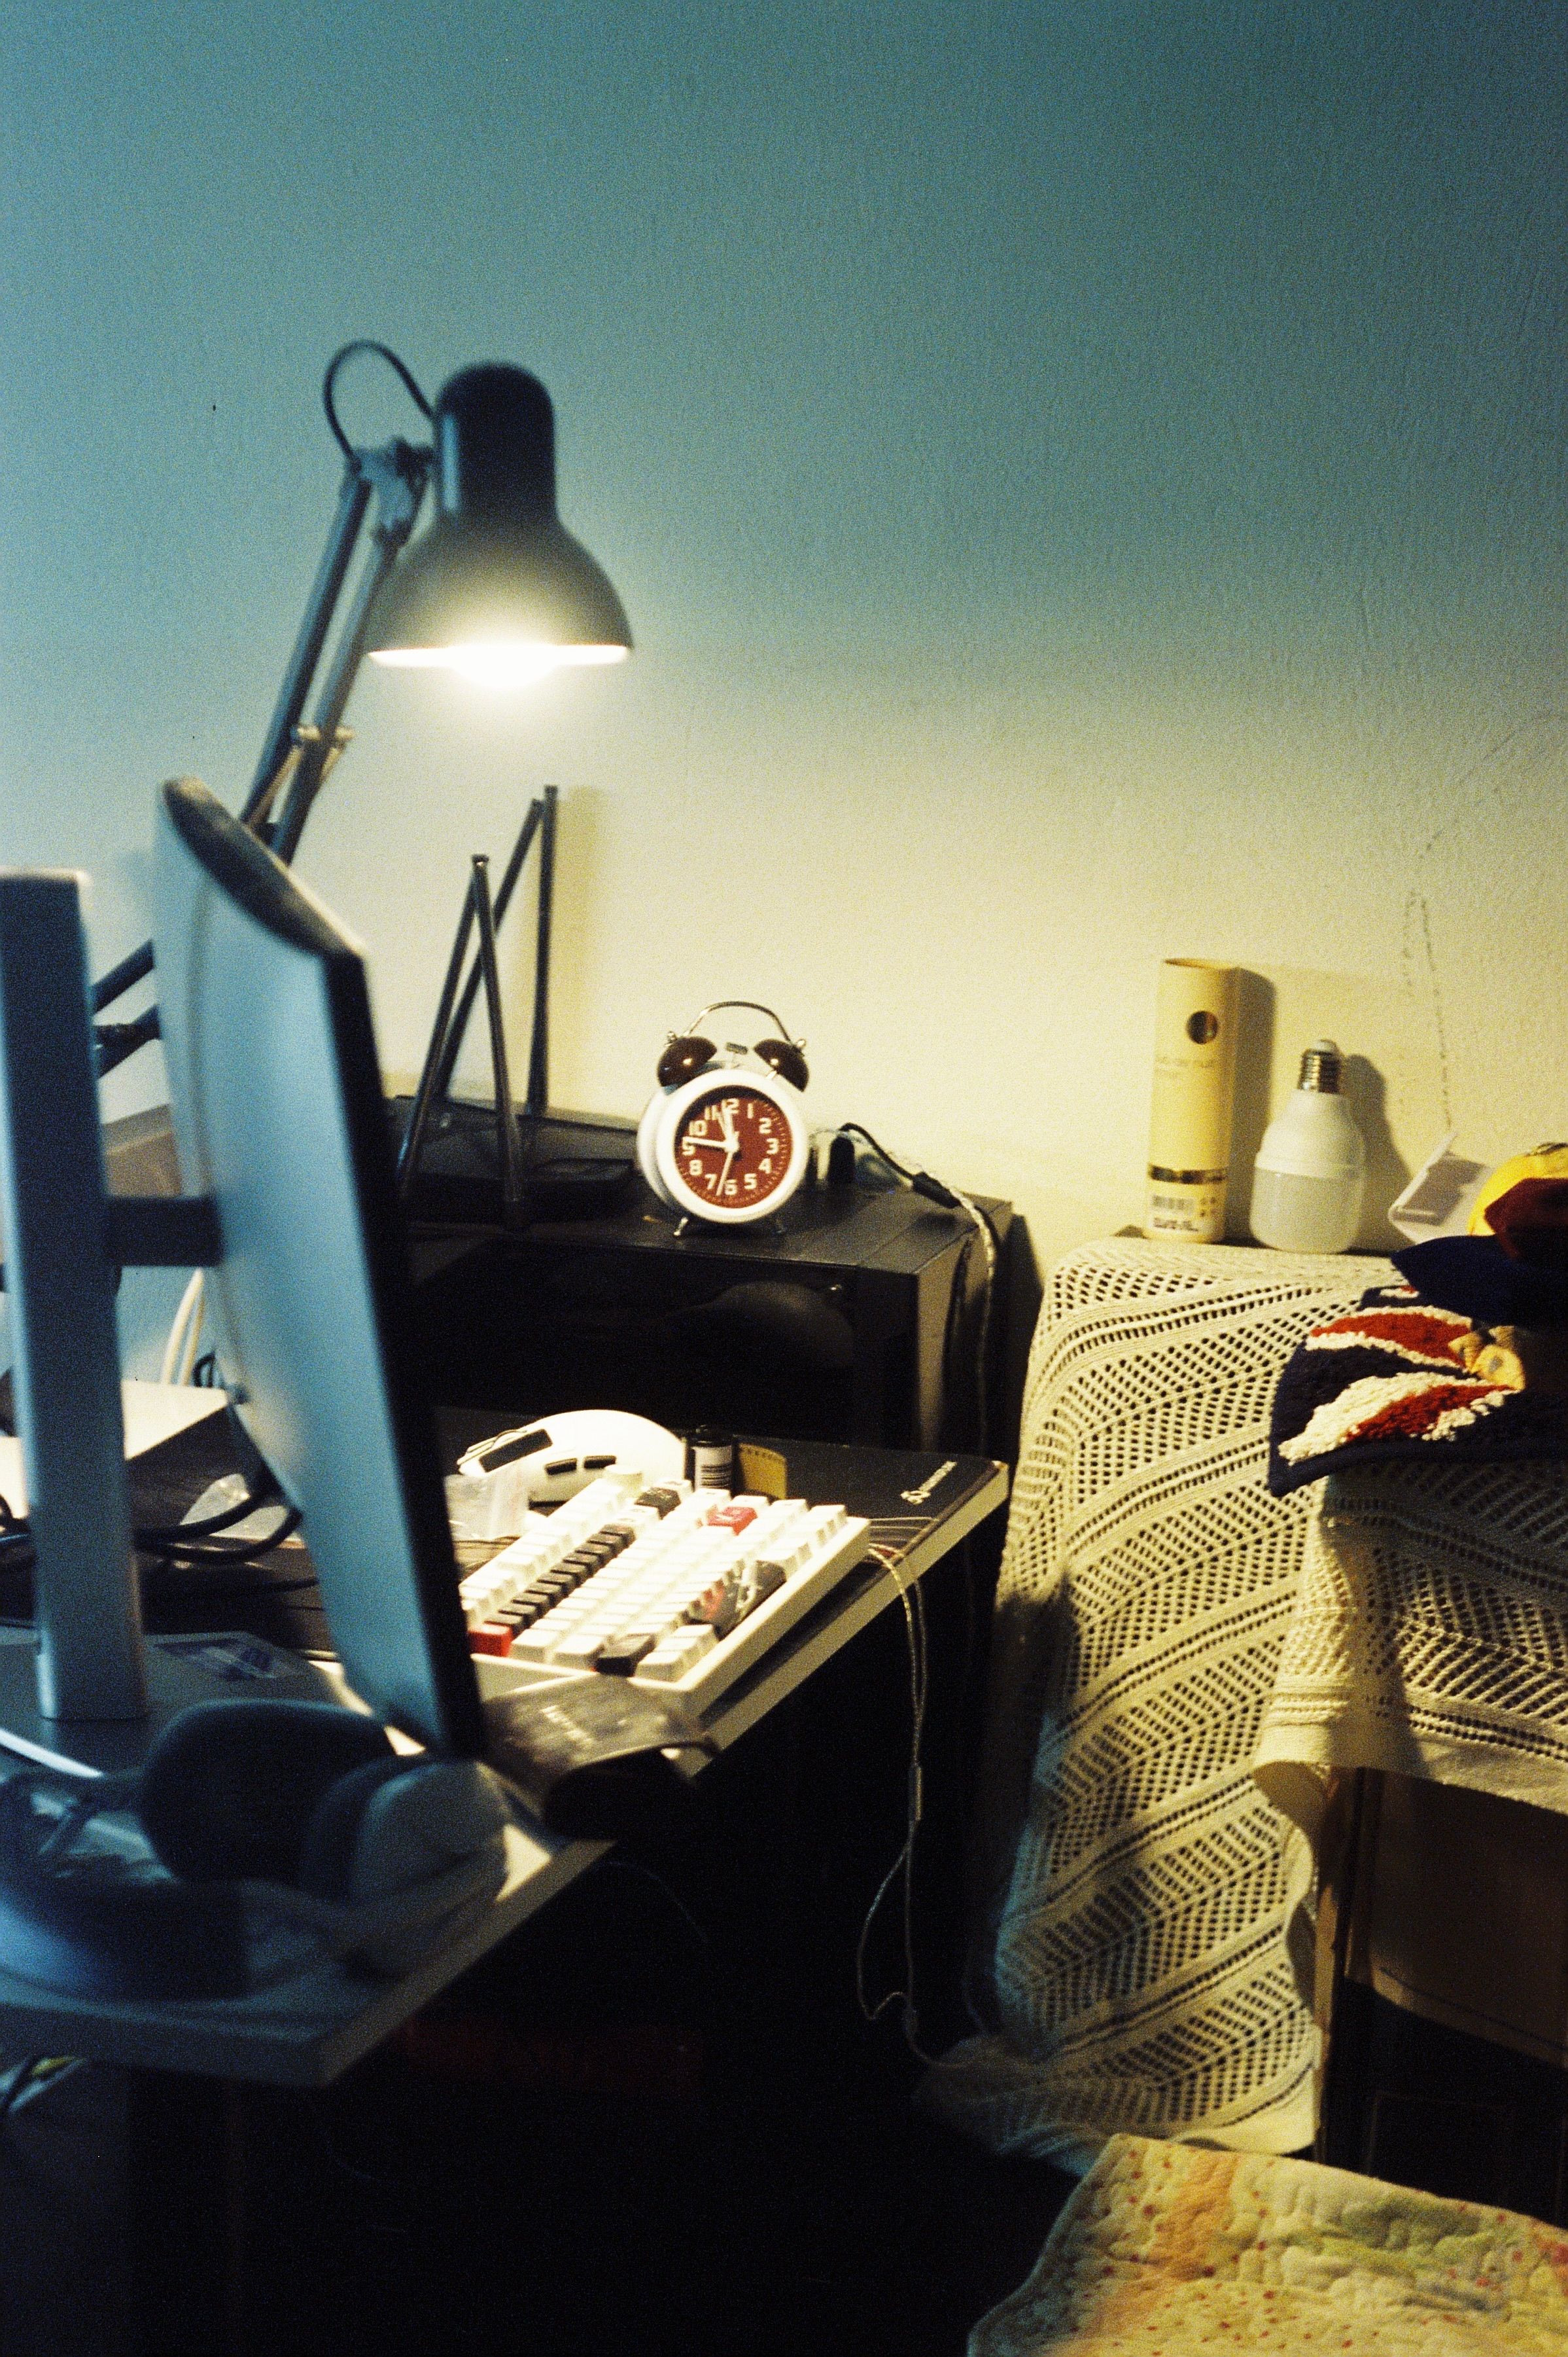
The single highest-impact change on this entire list, and the one I resisted longest because it seemed too simple to matter, was swapping my reliance on the room's overhead light for one dedicated desk lamp in a warm bulb temperature. It changed how the whole corner felt within the first evening.
- Choose a desk lamp with an adjustable arm or head, so light can be directed specifically at your work surface, not just ambiently into the room.
- Use a warm white bulb, generally 2700K to 3000K, check the packaging for the Kelvin rating rather than assuming.
- Position the lamp on the side opposite your dominant hand, reducing shadow across your writing or typing surface.
- Turn off the overhead light entirely during work hours where possible, relying on the desk lamp as your primary source.
- Add a second, smaller ambient light (a plug-in wall sconce or small accent lamp) if the corner still feels dim in your peripheral vision.
- Immediately shifts the space from "utility corner" to "considered room"
- Directs light exactly where you're actually working
- One of the cheapest single changes on this entire list
Search terms: "adjustable desk lamp warm light," "warm white LED bulb 2700K," "small task lamp for desk"
A Wall-Mounted Organizer Above the Desk

A homeowner shared that her desk surface stayed permanently buried under loose papers, chargers, and sticky notes until she added a simple pegboard above it, moving nearly everything that used to sit flat on the desk up onto the wall instead.
- Measure the wall space directly above your desk, choosing an organizer sized to fit without overwhelming the space.
- Choose between a pegboard (maximum flexibility, hooks and small shelves repositioned as needed) or a simple floating shelf, depending on what you actually need to store.
- Mount using adhesive strips rated for the item's weight if renting, or standard hardware if you own your space.
- Move only genuinely frequently used items up to this zone, headphones, a small plant, a notepad, rather than turning it into a second cluttered surface.
- Reassess after two weeks, removing anything that hasn't actually been used from its wall position.
- Frees the actual desk surface for real work, not storage
- Uses wall space that's otherwise sitting empty
- Doubles as a genuine styling opportunity, not just function
Search terms: "small pegboard organizer kit," "floating wall shelf small," "adhesive wall hooks heavy duty"
A Cohesive Desk Accessory Tray

Imagine a reader whose desk held a mismatched pen cup from a conference years ago, a phone charger tangled beside it, and a coaster that didn't match anything else in the room. Consolidating all of it onto a single tray, in one consistent material and tone, was the change that made the whole desk finally photograph, and feel, cohesive.
- Choose one tray sized to hold your genuinely essential daily items, pen cup, small notepad, phone stand.
- Select accessories in one cohesive material or color family, wood tones, matte black, or cream ceramic, rather than a mismatched mix.
- Place the tray in one consistent spot on the desk, ideally slightly off-center rather than dead-center.
- Keep everything not actively in use for the current task off the tray and inside a drawer instead.
- Reset the tray to this exact arrangement at the end of each work session, the same habit that keeps a coffee table styled cleanly over time.
- Contains daily clutter into one visually unified zone
- Makes the desk read as considered rather than accumulated
- Easy to lift and clear entirely for deep cleaning or photos
Search terms: "wooden desk tray," "matte ceramic pen holder," "desk organizer set neutral"
One Genuinely Alive Plant

A homeowner shared that her home office felt sterile despite genuinely nice furniture, until she added a single small plant to the corner of her desk. She said it was the first thing she noticed each morning, and somehow made the whole space feel less like a task and more like somewhere she chose to be.
- Assess your desk's actual light honestly, most desks receive indirect, moderate light rather than direct sun.
- Choose a genuinely low-maintenance variety suited to that light level, a small pothos or snake plant tolerates a wide range of conditions.
- Position it in a corner of the desk where it won't be knocked during typing or reaching for other items.
- Choose a small, cohesive pot that matches your accessory tray's material or tone from Idea 3.
- Water only when the top inch of soil feels dry, overwatering, not underwatering, is the most common cause of failure with these specific varieties.
- Adds a sense of life a purely functional desk lacks
- Genuinely improves how the space feels to sit in daily
- Extremely inexpensive relative to the emotional impact
Search terms: "small pothos plant," "snake plant small pot," "matte ceramic plant pot small"
Real Cord and Cable Management

Nothing undermines an otherwise beautifully styled desk faster than a visible tangle of charging cables spilling over the edge and onto the floor. This is also, in my experience, the single most commonly skipped upgrade on any budget office list, because it's genuinely unglamorous compared to a lamp or a plant.
- Unplug everything and identify exactly which cables you actually use daily versus ones that could be stored away entirely.
- Route remaining cables along the underside of the desk using adhesive cable clips, keeping them off the visible surface entirely.
- Bundle multiple cords running to the same outlet with a simple velcro tie or cable sleeve.
- Consider a small under-desk power strip mount, keeping the strip itself off the floor and out of sight.
- Label charging cables for shared devices if multiple people use the same desk, preventing future tangling from re-sorting.
- Removes the single most common "unfinished" visual signal in a home office
- Genuinely improves daily function, not just appearance
- One of the lowest-cost upgrades on this entire list
Search terms: "adhesive cable clips," "cable management sleeve," "under desk cable tray"
One Piece of Art at Eye Level
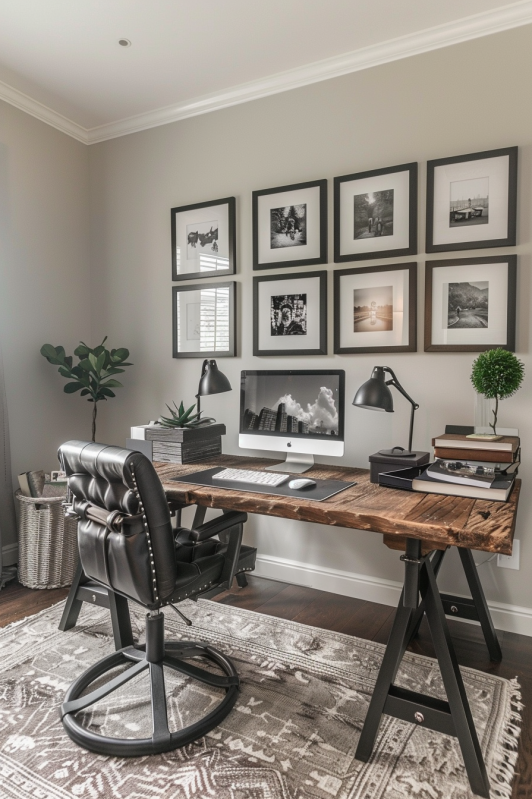
Imagine a reader who stared at a completely bare wall directly in front of her desk for two years, telling herself art was a "later" purchase once the space felt more finished. She finally hung a single, inexpensive framed print at eye level, and said it was the first time the wall in front of her felt like it belonged to a real room.
- Sit at your desk in your normal working position and identify exactly where your eyes naturally rest when looking up from the screen.
- Choose one piece of art, a print, a photograph, even a large map or poster, sized appropriately for that specific spot.
- Hang it so its center sits at that natural eye-level resting point, not at a generic wall-centered height.
- Choose something calming or genuinely enjoyed rather than purely decorative filler, this is viewed far more often than most art in a home.
- Avoid overly busy or high-contrast pieces directly in the primary sightline, they can become visually tiring during long work sessions.
- Fills the exact spot your eyes rest during hours of daily work
- Makes the space feel like a real room, not a utility corner
- Can be genuinely inexpensive using printable digital art
Search terms: "printable wall art download," "simple black picture frame," "small framed print calming"
A Small Rug to Define the Zone
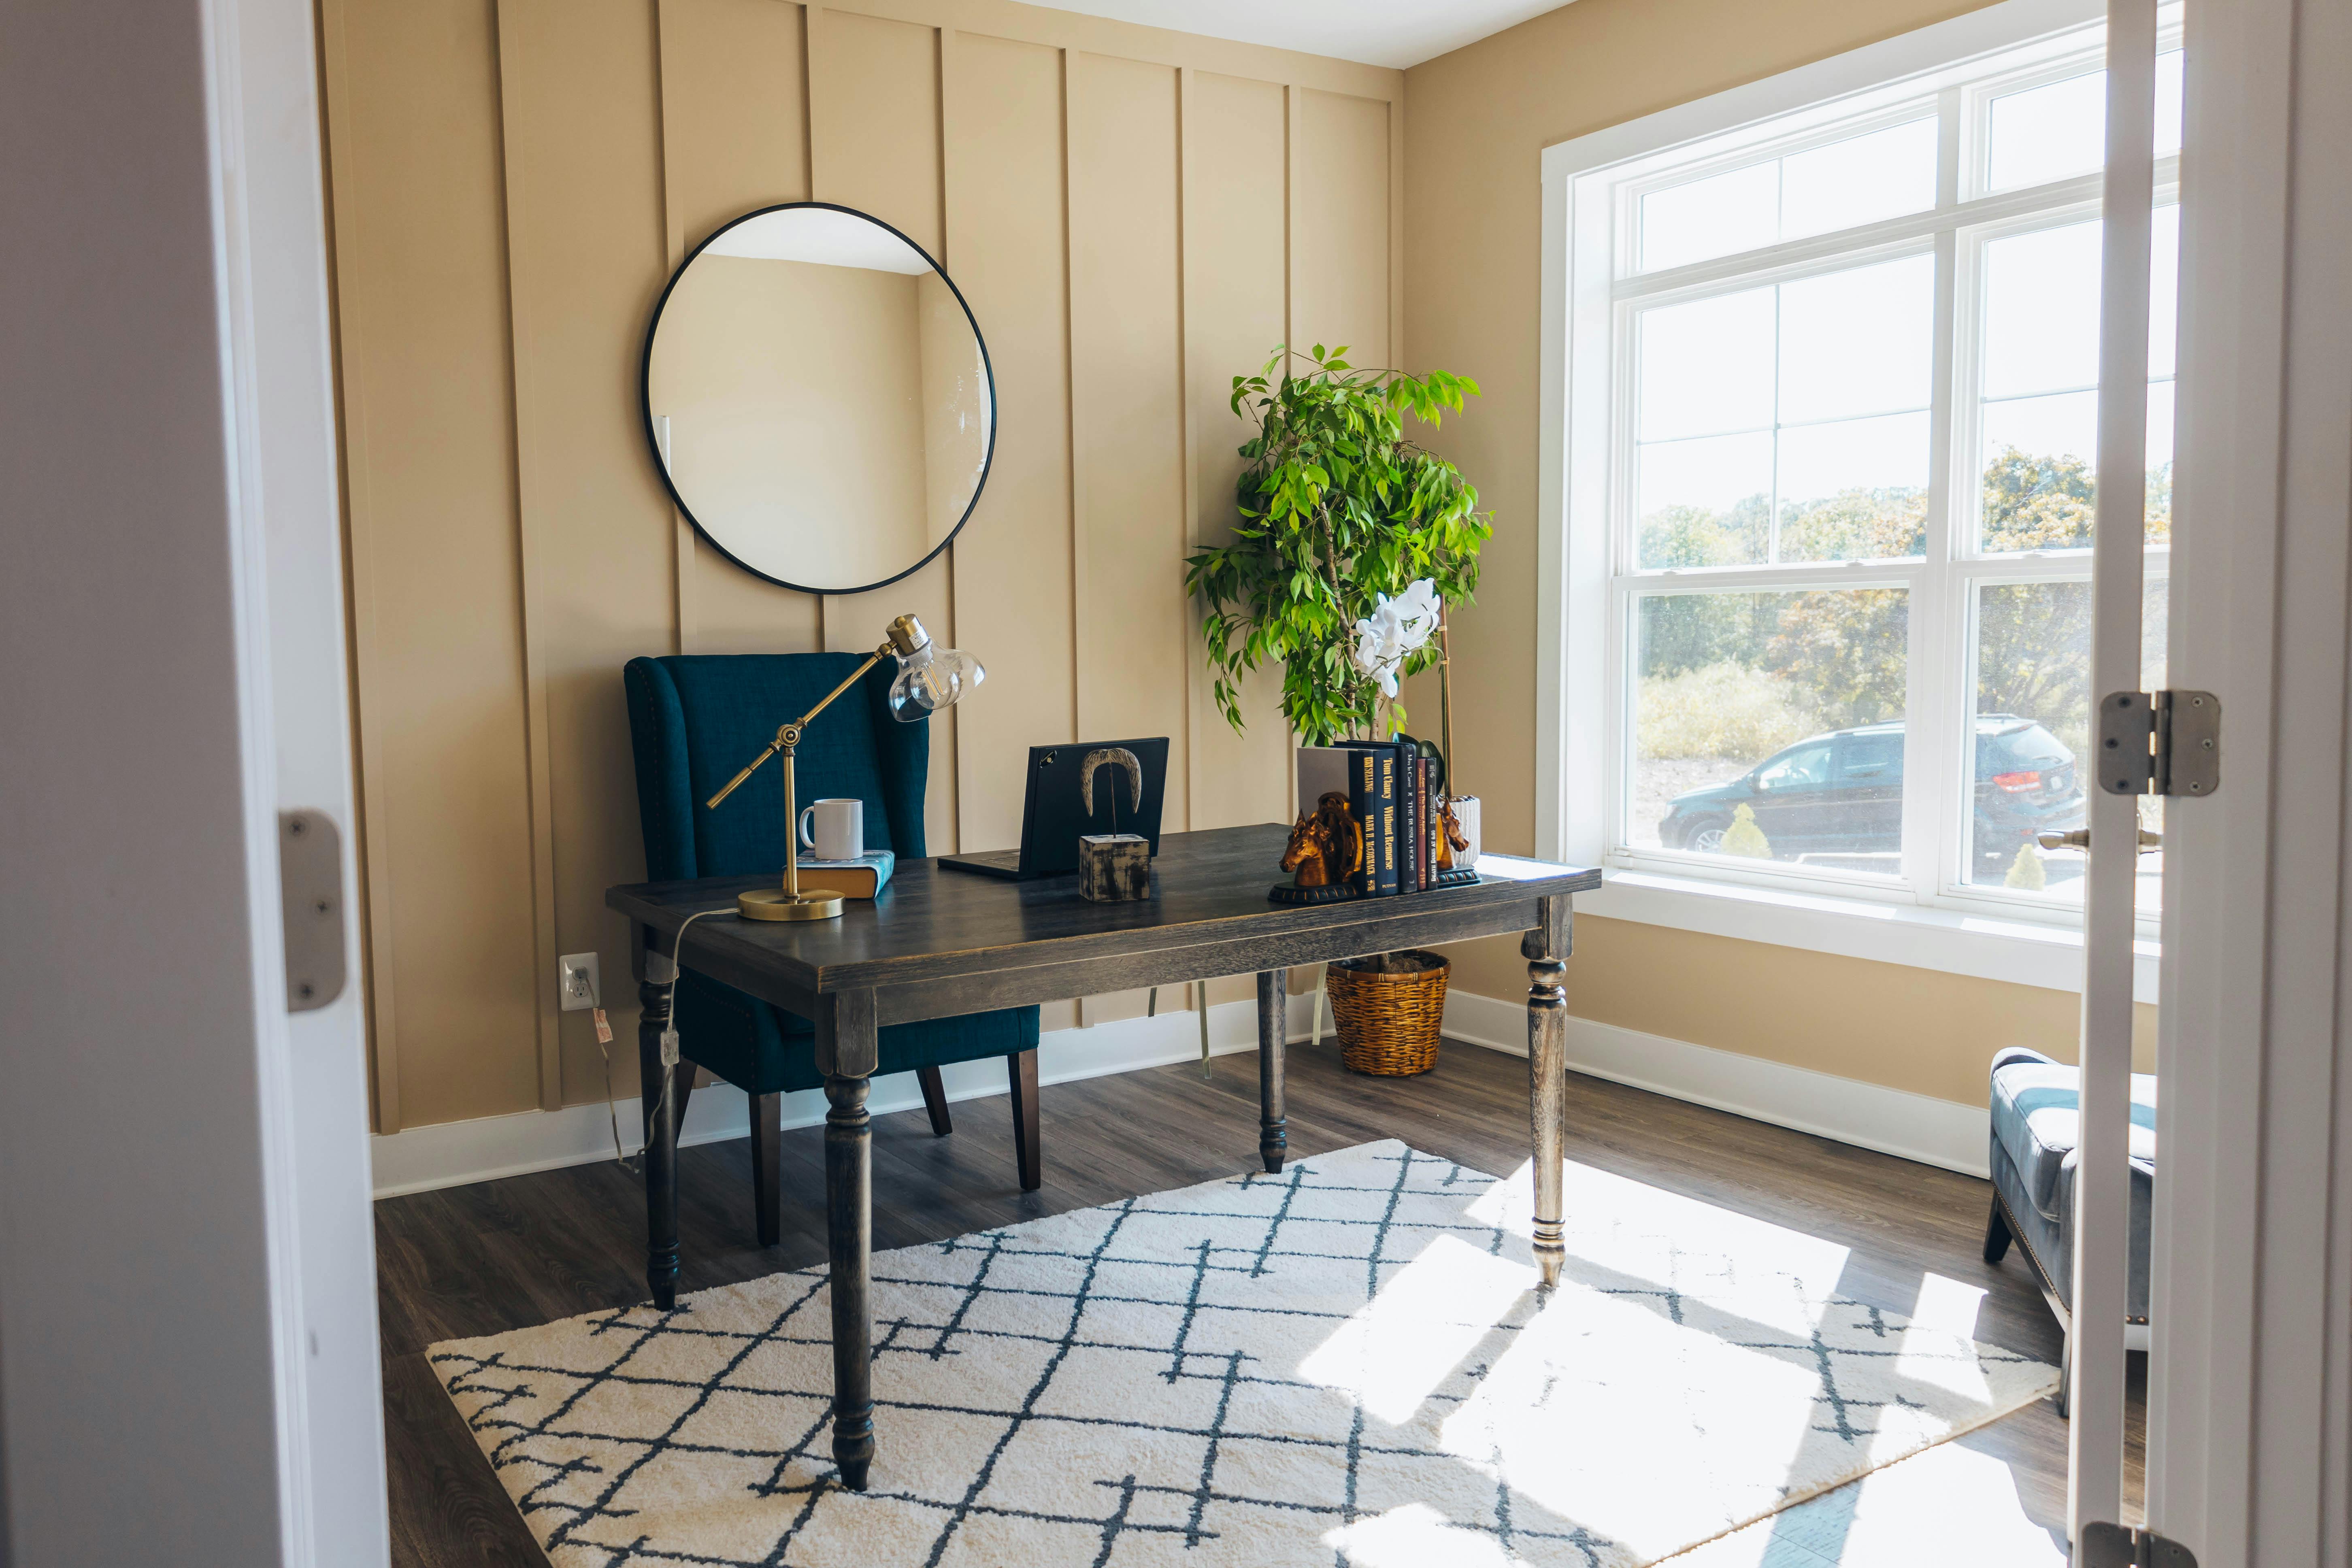
A homeowner shared that her home office, tucked into the corner of a larger living room, never felt like a distinct "office" until she placed a small rug beneath the desk and chair, visually carving out the work zone from the rest of the shared space.
- Measure the footprint of your desk and chair together, including the chair's full range of motion if it rolls.
- Choose a rug sized to extend slightly beyond that footprint on all sides.
- Select a low-pile design if your chair has wheels, high-pile rugs make rolling chairs noticeably harder to maneuver.
- Use a rug pad underneath for both grip and added comfort underfoot during long work sessions.
- Choose a color or pattern that complements, rather than exactly matches, the rest of the room if the office shares space with another function.
- Visually separates a work zone from a shared living space
- Adds warmth and softness a hard floor lacks
- Signals "this corner has a distinct purpose" at a glance
Search terms: "small low pile area rug," "rolling chair mat rug," "rug pad non slip small"
A Styled Shelf or Wall Behind You (Yes, for Video Calls Too)

One homeowner shared that she'd never considered what was visible behind her during video calls until a colleague gently mentioned her exposed laundry rack was, in her words, "part of every meeting now." A single small styled shelf behind her desk solved both the video call concern and gave the room genuine visual interest from that angle too.
- Sit in your desk chair and check your webcam's actual field of view to identify exactly what's visible behind you.
- Add one small floating shelf or use an existing piece of furniture already in that sightline.
- Style it sparingly, per the odd-number grouping principle, two or three items, varied height, rather than a cluttered display.
- Include one plant or warm-toned lamp specifically in this zone, both photograph well on camera and add warmth to video calls.
- Avoid busy patterns or heavily reflective surfaces directly behind you, they can be visually distracting or cause glare on camera.
- Solves an overlooked video-call consideration most guides skip
- Completes the room's styling from every angle, not just one
- Adds one more layer of intentional design to the overall space
Search terms: "small floating wall shelf," "warm accent lamp small," "decorative object trio set"
The Psychology of Why a Nicer Desk Improves Focus
It's worth understanding why these specific changes matter beyond simple aesthetics. A cluttered, harshly lit, visually chaotic workspace requires your brain to filter out that noise continuously before it can settle into actual focused work, a real cognitive cost that compounds across a full workday. A considered space, warm light, defined boundaries, minimal visual clutter, removes that background filtering task almost entirely, freeing attention for the work itself rather than the environment around it. This is also why the "one alive plant" and "one piece of art at eye level" upgrades matter more than their low cost suggests, they give your eyes a genuine, brief resting point during the day, rather than only bare walls or a screen, which measurably reduces the low-grade fatigue of staring at nothing but task-related surfaces for hours.
Mapping a Work Zone Inside a Shared Room
If your desk shares space with a bedroom, living room, or dining area, the ideas above do double duty defining a distinct zone within that larger room. The rug (Idea 7) marks the floor boundary. The wall art (Idea 6) and styled shelf (Idea 8) mark the visual boundary in front of and behind you. The desk lamp (Idea 1), used specifically during work hours and turned off afterward, marks a temporal boundary, a genuine psychological signal that "work mode" has started or ended, which matters considerably more for remote work focus and boundaries than most people expect from something so simple.
Common Home Office Styling Mistakes
- Styling only what's visible from the doorway: forgetting the view from your actual seated position, and the view behind you on calls.
- Relying entirely on overhead lighting: the single most common reason an otherwise decent office still feels flat and uninviting.
- Letting cords remain fully visible: undermining an otherwise carefully styled desk with the one element most likely to catch the eye.
- Choosing a plant unsuited to the desk's actual light: leading to a dead plant that quickly reverses any aesthetic gain.
- Treating desk accessories as purely functional: missing that a cohesive tray and material palette does real visual work for almost no cost.
Which Upgrades to Do First If Your Budget Is Tight
- 1. Swap to a warm desk lamp — the single highest-impact, lowest-cost change on this list.
- 2. Manage your cords — inexpensive and removes the most common visual distraction.
- 3. Add one plant — small cost, disproportionate emotional impact daily.
- 4. Add one piece of art at eye level — fills the wall you actually look at for hours.
- 5. Build a cohesive accessory tray — often achievable using items you already own.
The remaining three ideas, wall organizer, rug, and styled shelf behind you, compound well on top of these five but matter somewhat less if your very first priority is simply making the space feel considered rather than utilitarian.
The Full Cost Comparison
| Upgrade | Typical Cost |
|---|---|
| Desk lamp + warm bulb | $15–35 |
| Small pegboard or floating shelf | $15–40 |
| Cohesive accessory tray + items | $10–30 |
| Small plant + pot | $6–20 |
| Cable management supplies | $5–15 |
| Framed art (printable + frame) | $15–40 |
| Small rug + pad | $25–60 |
| Styled shelf behind desk | $10–30 (often using owned items) |
| Choosing 5–6 realistically | Around $55–65 total |
Common Questions
Can I really do all eight and stay under $60? It depends on specific product choices; picking five or six from the priority list is the more realistic way to land near that number for most setups.
Which of these work in a genuinely tiny corner, not a full room? The desk lamp, cord management, plant, and art are all fully achievable in even the smallest corner setup; the rug and wall organizer need a bit more surrounding space to make sense.
Do I need to match my home office style to the rest of my home? Not necessarily, the wall directly in your sightline (Idea 6) in particular can lean more personal than the rest of your home's cohesive palette, since you're its primary daily viewer.
What's the single most overlooked upgrade on this entire list? Styling the wall or shelf behind your chair, most people style everything in front of them and forget what's visible to others on video calls or when someone walks up behind them.
A Pinterest-worthy home office was never actually about a bigger desk or a dedicated room. Every upgrade here proves the same point: a handful of small, specific, inexpensive choices does more real work than waiting for a larger space or a bigger budget to materialize.
Start with the cheapest one tonight, swap your overhead light for a warm desk lamp, and notice how differently the exact same corner feels the next time you sit down to work.
Shop the Story
- adjustable desk lamp warm light
- small pegboard organizer kit
- wooden desk tray
- small pothos plant
- adhesive cable clips
- printable wall art download
- small low pile area rug
- small floating wall shelf
- warm white LED bulb 2700K
- matte ceramic plant pot small