
8 Curtain Hanging Mistakes That Make Ceilings Look Shorter
How curtain height changes a ceiling's perceived height in seconds, not inches of construction
I hung the same curtains three different ways in the same room before I understood what I was actually looking at. First, mounted right above the window frame, standard hardware position, the way I assumed curtains were simply supposed to go. The room felt exactly as short as its actual ceiling height, which is to say, noticeably short.
Then I moved the rod up. Not far, maybe eight inches. The ceiling didn't get any taller. The ceiling I was looking at every day genuinely felt taller, in a way that had nothing to do with construction and everything to do with where two screws happened to sit in the wall.
A quick note before we start: a few of the stories ahead are shared as told to me directly, and a few are offered as illustrative examples to make a principle easier to picture, I've tried to be clear about which is which rather than presenting every anecdote as independently verified.
Here are the eight curtain hanging mistakes I now notice constantly, in my own home and everyone else's, and the specific measurements that fix each one.
Table of Contents
- Mounting the Rod Directly Above the Window Frame
- Buying Curtains Sized to the Window, Not the Wall
- A Rod That Doesn't Extend Past the Frame
- Letting Curtains Stop Short of the Floor
- Choosing Heavy, Dark Fabric in an Already Low Room
- Skimping on Fullness
- Bulky Hardware That Competes With the Ceiling Line
- Never Testing the Look With Curtains Fully Closed
- The Science of Why This Actually Works
- A Room-by-Room Height Guide
- Mistakes Ranked by How Much Height They Cost You
- The Full Cost Comparison
- Common Questions
Mounting the Rod Directly Above the Window Frame
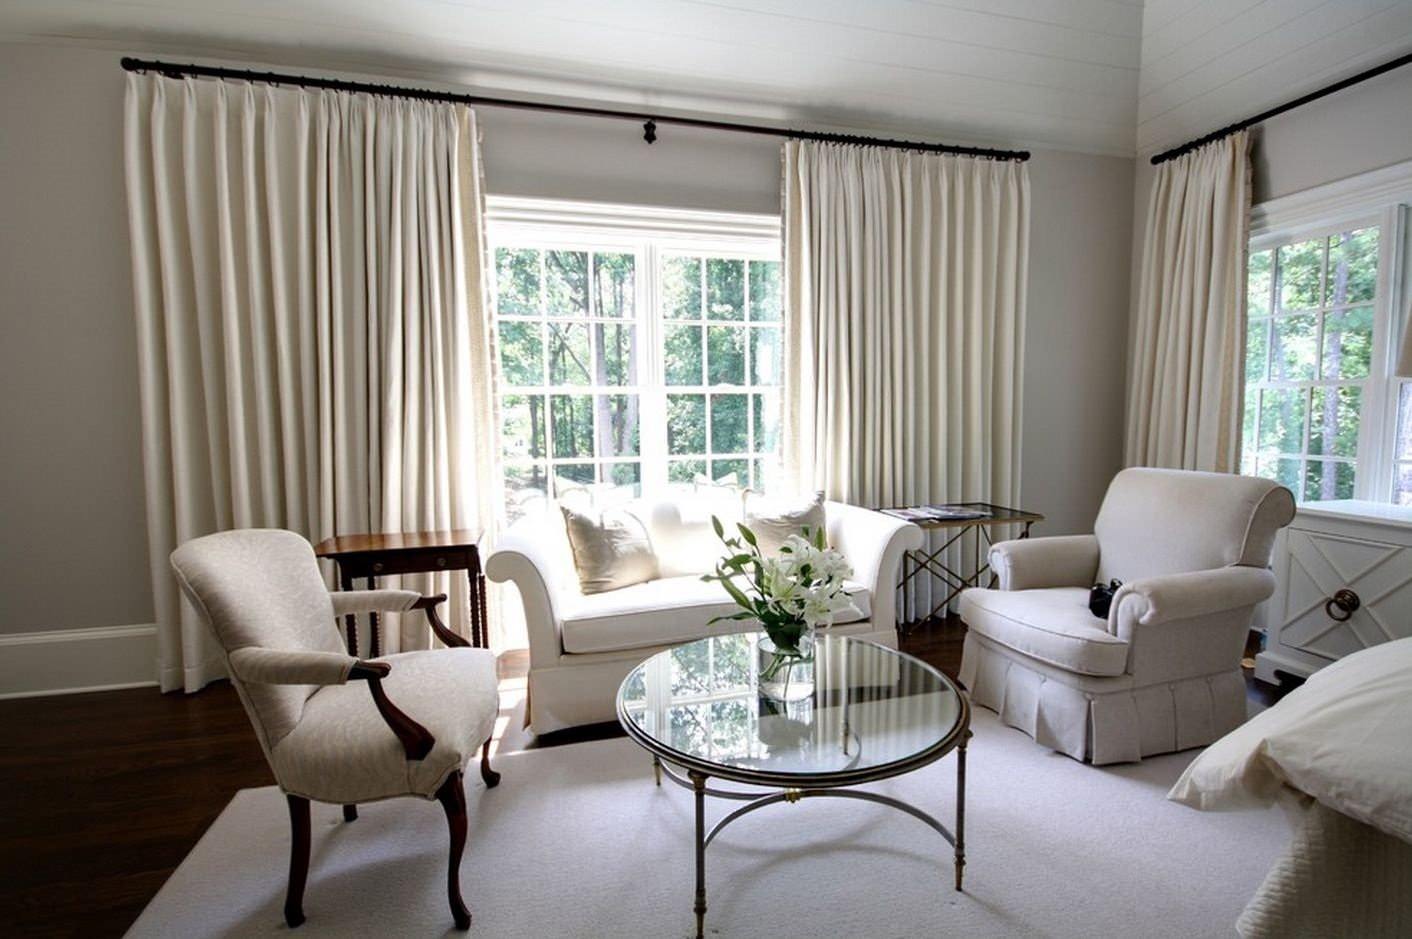
This is the default nearly everyone starts with, and it's the single biggest reason a room reads as shorter than it actually is. Mounting a rod right at the top of the window frame draws a hard visual line exactly at the window's real height, which is almost always well below the ceiling.
- Measure from the floor to a point four to six inches below your actual ceiling, not from the window frame.
- Mark that height on the wall using a level, ensuring it's genuinely horizontal rather than eyeballed.
- Install your rod brackets at this new, higher mark, regardless of how much bare wall now shows above the window itself.
- Confirm curtain panel length is sufficient to reach the floor from this new, higher mounting point before finalizing.
- Step back and view from the room's main seating position, not standing directly at the window, to judge the actual effect.
- Draws the eye upward before it reaches the actual window
- Costs nothing beyond repositioning existing hardware
- The single highest-impact fix on this entire list
Search terms: "curtain rod ceiling mount," "extra long curtain rod," "wall level tool"
Buying Curtains Sized to the Window, Not the Wall

A homeowner shared that she'd bought "standard" curtain panels for years, sized to whatever length matched her window's height, and could never understand why her rooms still felt oddly short despite following every other design principle she'd read about.
- Decide your mounting height first, per Mistake 1, before measuring for curtain length at all.
- Measure from that mounting point straight down to the floor, this is your true required curtain length.
- Add a small amount, generally half an inch to an inch, if you want a slight, intentional puddle rather than curtains that stop precisely at the floor.
- Buy panels labeled for this actual measured length, standard retail lengths (63", 84", 96") often fall short once you've raised the mounting point.
- Consider extra-long or made-to-measure panels specifically if your ceiling height requires a length beyond standard retail options.
- Ensures the height illusion from Mistake 1 actually works as intended
- Prevents the awkward "too short" look that undermines a higher mount
- Sets up every other fix on this list to succeed
Search terms: "extra long curtain panels 96 inch," "extra long curtain panels 108 inch," "curtain length extender"
A Rod That Doesn't Extend Past the Frame

Imagine a reader whose rod was mounted at the correct new height, per Mistake 1, but sized to fit exactly the window's width, curtains bunched tightly right at the frame's edge on both sides. The height fix alone wasn't enough, the window still read as narrow and boxed in.
- Measure the window frame's total width at its widest point.
- Choose a rod that extends 4 to 10 inches beyond each side of the frame, wider rooms and windows can support even more extension.
- Mount brackets at this wider position, confirming the rod itself is rated for the additional length and curtain weight.
- Push curtains fully open during the day so they stack outside the window frame entirely, maximizing visible glass and natural light.
- Reassess the room's proportions with curtains both open and closed, the width fix matters for both states.
- Makes the window itself appear wider, not just taller
- Allows more natural light in when curtains are open
- Completes the height illusion with matching width proportion
Search terms: "adjustable telescoping curtain rod," "wide curtain rod extra long," "curtain rod brackets"
Letting Curtains Stop Short of the Floor

A homeowner shared that her curtains hovered a few inches above the floor for years, a length she'd chosen so they wouldn't drag or collect dust. She said she genuinely didn't realize how much that small gap was undermining the room's height until she finally replaced them with floor-length panels.
- Measure precisely from your mounting point to the floor, per Mistake 2, aiming to just barely graze the floor.
- Choose a "kiss the floor" length if you want a clean, dust-avoiding hem that still reads as continuous, curtains just touching without pooling.
- For a slightly more luxurious look, allow half an inch to an inch of intentional puddle rather than a precise floor-skimming hem.
- Hem professionally or with fusible hem tape if your panels are slightly too long, rather than choosing a shorter size to compensate.
- Avoid a length that stops more than an inch above the floor under any circumstances, this is the threshold where the height illusion clearly breaks.
- Maintains one continuous vertical line from ceiling to floor
- Prevents the visual "interruption" a floating hem creates
- Reads as considerably more finished and intentional
Search terms: "fusible hem tape," "extra long curtain panels," "curtain hemming kit"
Choosing Heavy, Dark Fabric in an Already Low Room
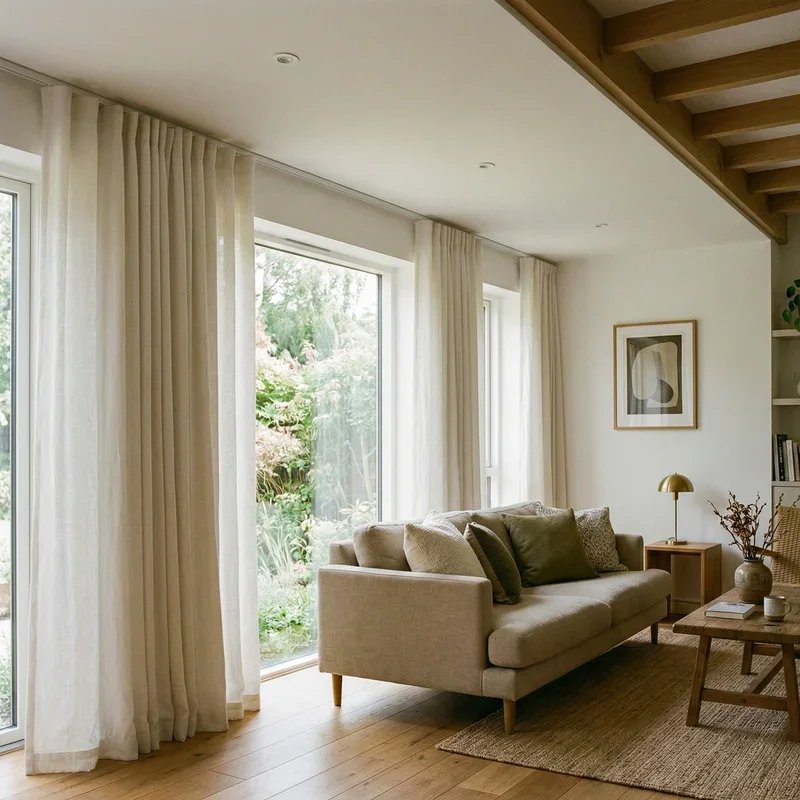
One homeowner shared that she'd chosen a rich, heavy velvet in a deep charcoal tone for her bedroom, loving the fabric itself, only to realize afterward that the visual weight of that dark, dense material was working directly against the height illusion she'd otherwise carefully built with mounting height and length.
- Favor lighter-weight fabrics, linen, cotton, sheer voile, over heavy velvet or dense blackout material in genuinely low-ceilinged rooms.
- If a darker color is desired, choose a lighter-weight fabric in that same tone rather than a heavy, dense weave.
- Reserve heavy, dark curtains for rooms with genuinely higher ceilings where that visual weight won't compound an existing height issue.
- If blackout function is required in a low room, look for lighter-weight blackout linings paired with a lighter-toned outer fabric, rather than an all-dark, heavy panel.
- Test fabric samples against your actual wall in natural light before committing, color and weight both read differently in a showroom than in your specific room.
- Prevents visual "weight" from working against your height fixes
- Keeps the overall room feeling light and airy, not heavy
- Still allows for color and pattern preference within a lighter weave
Search terms: "lightweight linen curtains," "sheer voile curtain panel," "light blackout curtain lining"
Skimping on Fullness

Imagine a reader who bought a single curtain panel per window, exactly matching the rod's width, and wondered why her curtains looked flat and stretched thin rather than lush and gathered like the ones she'd admired online.
- Measure your rod's total width and aim for combined curtain panel width at roughly 2 to 2.5 times that measurement for proper fullness.
- Buy two panels per window rather than one if a single panel doesn't provide adequate width on its own.
- Check specific product listings for panel width, not just length, before purchasing, this detail is often overlooked when shopping primarily by height.
- Hang with enough rings or hooks to allow fabric to gather naturally into soft folds, rather than stretching flat between widely spaced attachment points.
- Steam or press panels after hanging to help train the fullness into consistent, even folds.
- Creates soft, gathered folds instead of flat, stretched fabric
- Reads as considerably more high-end and considered
- Complements the vertical height illusion rather than flattening it
Search terms: "curtain rings clips," "wide curtain panel pair," "pinch pleat curtain panel"
Bulky Hardware That Competes With the Ceiling Line

A homeowner shared that after finally mounting her rod at the correct higher height, an oversized, ornate finial and thick rod diameter created a new visual stopping point of its own, right where she'd wanted the eye to keep traveling upward uninterrupted.
- Choose a slimmer rod diameter, generally under an inch, for genuinely low-ceilinged rooms specifically.
- Select simple, understated finials rather than large, ornate ones that draw extra visual weight to the mounting point.
- Match the rod's finish to the wall color where possible, a rod that blends rather than contrasts draws less attention to itself as a stopping point.
- Consider a track system or a rod entirely hidden behind a valance if minimal visual interruption is the priority.
- Reserve bold, statement hardware for rooms with genuinely higher ceilings where that extra visual weight won't compound an existing height concern.
- Prevents hardware from becoming a new, unwanted stopping point
- Keeps visual attention on the vertical line, not the mounting point
- Often simpler hardware costs less than ornate alternatives too
Search terms: "slim curtain rod low profile," "simple curtain rod finial," "curtain track hidden system"
Never Testing the Look With Curtains Fully Closed

One homeowner shared that her curtains looked genuinely perfect open, artfully stacked to each side, and only when she closed them fully one evening did she notice uneven fullness and a slightly crooked hem that had been invisible the entire time they stayed pushed open.
- Close your curtains completely at least once after installation, evaluating the full closed appearance, not just the open, stacked look.
- Check that both panels meet evenly at the center with no significant gap or overlap.
- Confirm the hem sits level along the entire width when closed, uneven hems are far more noticeable across the fully extended fabric.
- Verify fullness reads as evenly gathered across the whole width, not bunched in some areas and stretched flat in others.
- Reassess at night with interior lights on, this is when closed curtains are actually used most and any flaws are most visible against the dark window behind them.
- Catches flaws before they become a permanent, unnoticed issue
- Ensures the height illusion holds up in the room's most-used evening state
- Costs nothing, just a few minutes of actually checking
Search terms: "curtain rings clips," "fusible hem tape," "curtain wand pull cord"
The Science of Why This Actually Works
Perceived height in a room is driven largely by where the eye is directed to stop, not by the actual measured distance between floor and ceiling. When a rod sits directly above a window frame, roughly at or below true eye level for most adults, the eye registers that horizontal line as a genuine boundary, effectively "shortening" the room to that point rather than the true ceiling. Raising the mounting point moves that stopping line closer to the actual ceiling, and a continuous, uninterrupted curtain running floor to near-ceiling gives the eye one long vertical path to travel, rather than a short one broken by a low horizontal line. This is the same underlying principle behind vertical stripes making a person look taller, uninterrupted vertical lines read as height, broken horizontal lines read as a boundary or stopping point, regardless of the room's actual physical dimensions.
A Room-by-Room Height Guide
Living rooms: prioritize the widest rod extension and lightest fabric weight, since this room is usually viewed from the greatest distance and benefits most from an open, airy feel.
Bedrooms: a deeper floor puddle is more acceptable here than in high-traffic rooms, and slightly heavier fabric for light-blocking is reasonable if paired with a lighter lining underneath.
Dining rooms: keep hardware especially simple here, since dining rooms are often smaller and more prone to feeling boxed in if hardware is too bulky relative to the room's scale.
Home offices: a "kiss the floor" length works best here specifically, since this room sees the most foot traffic near the window during a workday.
Mistakes Ranked by How Much Height They Cost You
- 1. Mounting at the window frame instead of near the ceiling — the single biggest height cost on this entire list.
- 2. Curtains stopping short of the floor — breaks the continuous vertical line the mounting height creates.
- 3. Skimping on fullness — flattens the fabric's visual presence considerably.
- 4. Heavy, dark fabric in a low room — adds visual weight that compounds an existing height issue.
- 5. Bulky hardware — recreates a stopping point the higher mount was meant to eliminate.
- 6. A rod too narrow for the wall — affects width perception more than height specifically.
The Full Cost Comparison
| Fix | Typical Cost |
|---|---|
| Repositioning existing rod (free if curtains are long enough) | $0 |
| Extra-long curtain panels (96–108 inch) | $40–120 |
| Wider, adjustable rod | $25–70 |
| Fusible hem tape (length adjustment) | $5–12 |
| Lightweight linen panels (replacing heavy fabric) | $50–140 |
| Second panel for added fullness | $25–70 |
| Slim, simple hardware | $20–50 |
| Typical full curtain height correction | Most projects fall under $200 total |
Common Questions
Which single fix matters most if I can only do one? Raising the mounting point, per Mistake 1, delivers the most noticeable height improvement relative to cost and effort, and it's often entirely free.
Does this work in rooms with very low ceilings, under 8 feet? Yes, and arguably matters even more there, every one of these fixes compounds to meaningfully change how a genuinely low room feels.
What if my window is positioned very close to the actual ceiling already? Even a modest two to three inch increase above the window frame still contributes to the effect; the goal is relative height gained, not a fixed universal measurement.
Can I apply these fixes without buying entirely new curtains? Repositioning the rod and hemming existing panels with fusible tape can address several of the eight mistakes without any new curtain purchase at all.
A low ceiling was never actually fixed by construction, in most homes, it's fixed by two screws in a slightly different spot on the wall. Every mistake here proves the same point: the eye reads height based on where lines stop, not on the room's actual measured dimensions.
Start with the free one this weekend, move your rod higher and check the length still reaches the floor, and notice how much taller the exact same ceiling suddenly feels.
Shop the Story
- curtain rod ceiling mount
- extra long curtain panels 96 inch
- adjustable telescoping curtain rod
- lightweight linen curtains
- slim curtain rod low profile
- fusible hem tape
- curtain rings clips
- wall level tool
- pinch pleat curtain panel
- light blackout curtain lining