7 Backsplash Alternatives That Cost Less Than Tile But Look Just as High-End
Skip tile's cost and mess, without skipping the finished look
I got three quotes for a proper tiled backsplash in my kitchen, and every single one included the phrase "plus tile setting and grout labor" as its own separate, substantial line item. The materials alone weren't even the expensive part. I closed my laptop that evening assuming a finished-looking backsplash simply wasn't in the cards for a while.
A neighbor talked me out of that assumption over coffee a week later. Her kitchen had what looked, convincingly, like a subway tile backsplash. It wasn't tile at all. It was a product she'd applied herself in an afternoon, no grout, no tile saw, no installer.
A quick note before we start: a few of the stories ahead are shared as told to me directly, and a few are offered as illustrative examples to make a principle easier to picture, I've tried to be clear about which is which rather than presenting every anecdote as independently verified.
Here are seven genuine tile alternatives, what makes each one convincing, and the specific heat and moisture considerations most backsplash guides skip entirely.
Table of Contents
- Peel-and-Stick Tile Sheets
- Stainless Steel or Metal Panels
- Beadboard or Wood Panel Backsplash
- Painted Faux-Tile Stencil Pattern
- Large-Format Laminate or PVC Panels
- Removable Wallpaper Rated for Kitchens
- Tempered Glass or Acrylic Panels
- Which Alternative Handles Heat and Grease Best
- Installation Difficulty Ranked
- The Full Cost Comparison
- Common Questions
Peel-and-Stick Tile Sheets

The product my neighbor used was a peel-and-stick tile sheet, individual sheets printed and textured to mimic real subway or mosaic tile, applied directly over an existing backsplash wall with adhesive backing alone.
- Clean and fully degrease the existing wall, kitchen walls accumulate cooking residue that weakens adhesion significantly.
- Measure precisely and buy slightly more than your calculated square footage for pattern matching at seams.
- Start from your most visible corner, working outward in full sheets before cutting partial pieces for edges.
- Press firmly and smooth from the center outward to eliminate trapped air.
- Trim around outlets last, once the surrounding sheets are fully placed and confirmed straight.
- Genuine tile texture, not just a flat printed pattern
- No grout work, tile saw, or installer required
- Fully removable for renters at lease end
Search terms: "peel and stick subway tile backsplash," "removable tile sheets kitchen," "textured peel and stick tile"
Stainless Steel or Metal Panels

A homeowner shared that she'd always associated metal backsplash panels with commercial kitchens, until she saw a brushed stainless panel installed in a genuinely stylish home kitchen and realized it read as intentionally modern, not institutional.
- Measure your backsplash area and choose panels sized to minimize seams across the visible span.
- Confirm whether your specific panel is adhesive-backed or requires construction adhesive applied separately.
- Clean the wall surface thoroughly, metal panels show adhesion flaws more visibly than textured alternatives.
- Cut panels with appropriate metal-cutting tools for a clean edge around outlets and cabinet lines.
- Wipe with a manufacturer-approved metal cleaner periodically to maintain the finish's original look.
- Genuinely heat and grease resistant by nature of the material
- Reads as intentionally modern rather than institutional when textured
- Extremely durable and easy to wipe clean
Search terms: "brushed stainless backsplash panel," "hammered metal backsplash," "stove backsplash metal panel"
Beadboard or Wood Panel Backsplash
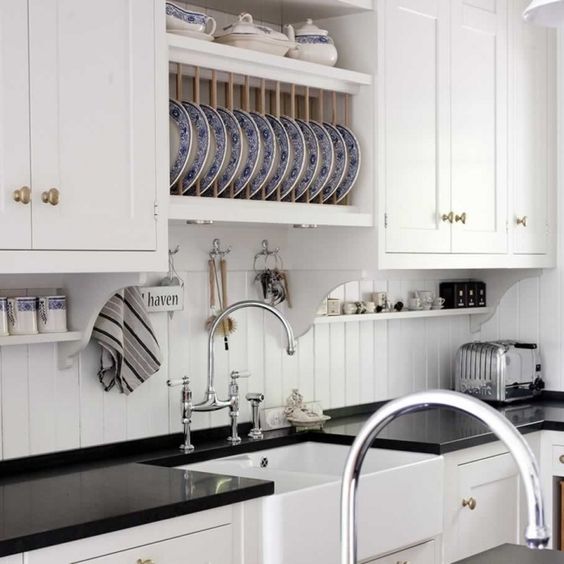
Imagine a reader with a cottage-style kitchen who felt subway tile was too clinical for the warmth she wanted. Beadboard paneling, painted a soft white, gave her the same clean, classic backsplash structure with a warmer, more traditional texture.
- Measure your wall and choose pre-primed beadboard panel sheets sized to minimize seams.
- Seal all edges and the surface itself with a genuinely water-resistant paint or sealant, kitchens demand more moisture protection than other rooms.
- Attach with construction adhesive suited to your specific wall material, following product-specific instructions.
- Caulk seams and edges for a clean, finished look before painting.
- Apply at least two coats of a washable, kitchen-appropriate paint finish.
- Adds warmth and texture tile alone doesn't provide
- Fits cottage, traditional, and transitional styles convincingly
- Repaintable easily if your palette changes later
Search terms: "beadboard panel sheet," "kitchen safe paint sealant," "washable interior paint kitchen"
Painted Faux-Tile Stencil Pattern

One homeowner shared that she genuinely couldn't afford any material-based backsplash option at all, and instead used a tile stencil directly on her existing painted wall, taping off and painting individual "tiles" by hand over a weekend.
- Clean and prime the existing wall surface if needed for proper paint adhesion.
- Measure and mark a level grid using painter's tape, checking every line with a level before painting anything.
- Paint "grout lines" first in a neutral tone, then fill in "tile" sections in your chosen color once dry.
- Remove tape carefully while paint is still slightly tacky for the cleanest edge lines.
- Seal the entire finished surface with a clear, washable topcoat rated for kitchen moisture and grease exposure.
- The single cheapest option on this entire list
- Fully customizable pattern, color, and scale
- Achievable with materials most people already have on hand
Search terms: "tile stencil kit," "clear polyurethane sealant," "sample size kitchen paint"
Large-Format Laminate or PVC Panels

A single large laminate panel, printed to mimic marble or stone veining, covered my entire backsplash run in one continuous piece, with far fewer seams than any tile-based option could achieve at a similar price point.
- Measure your full backsplash span to determine whether a single panel covers it entirely or requires one seam.
- Choose panels with realistic, non-repeating veining if mimicking natural stone specifically.
- Apply with the manufacturer's recommended adhesive, ensuring full, even contact across the panel's back surface.
- Cut precisely around outlets and cabinet edges using appropriate tools for the specific panel material.
- Seal edges where the panel meets the countertop for both a finished look and moisture protection.
- Minimal seams compared to any tile-based alternative
- Convincingly mimics real stone or marble at a fraction of the cost
- Genuinely durable and easy to wipe clean
Search terms: "large format laminate backsplash panel," "PVC marble look panel," "stone print backsplash panel"
Removable Wallpaper Rated for Kitchens
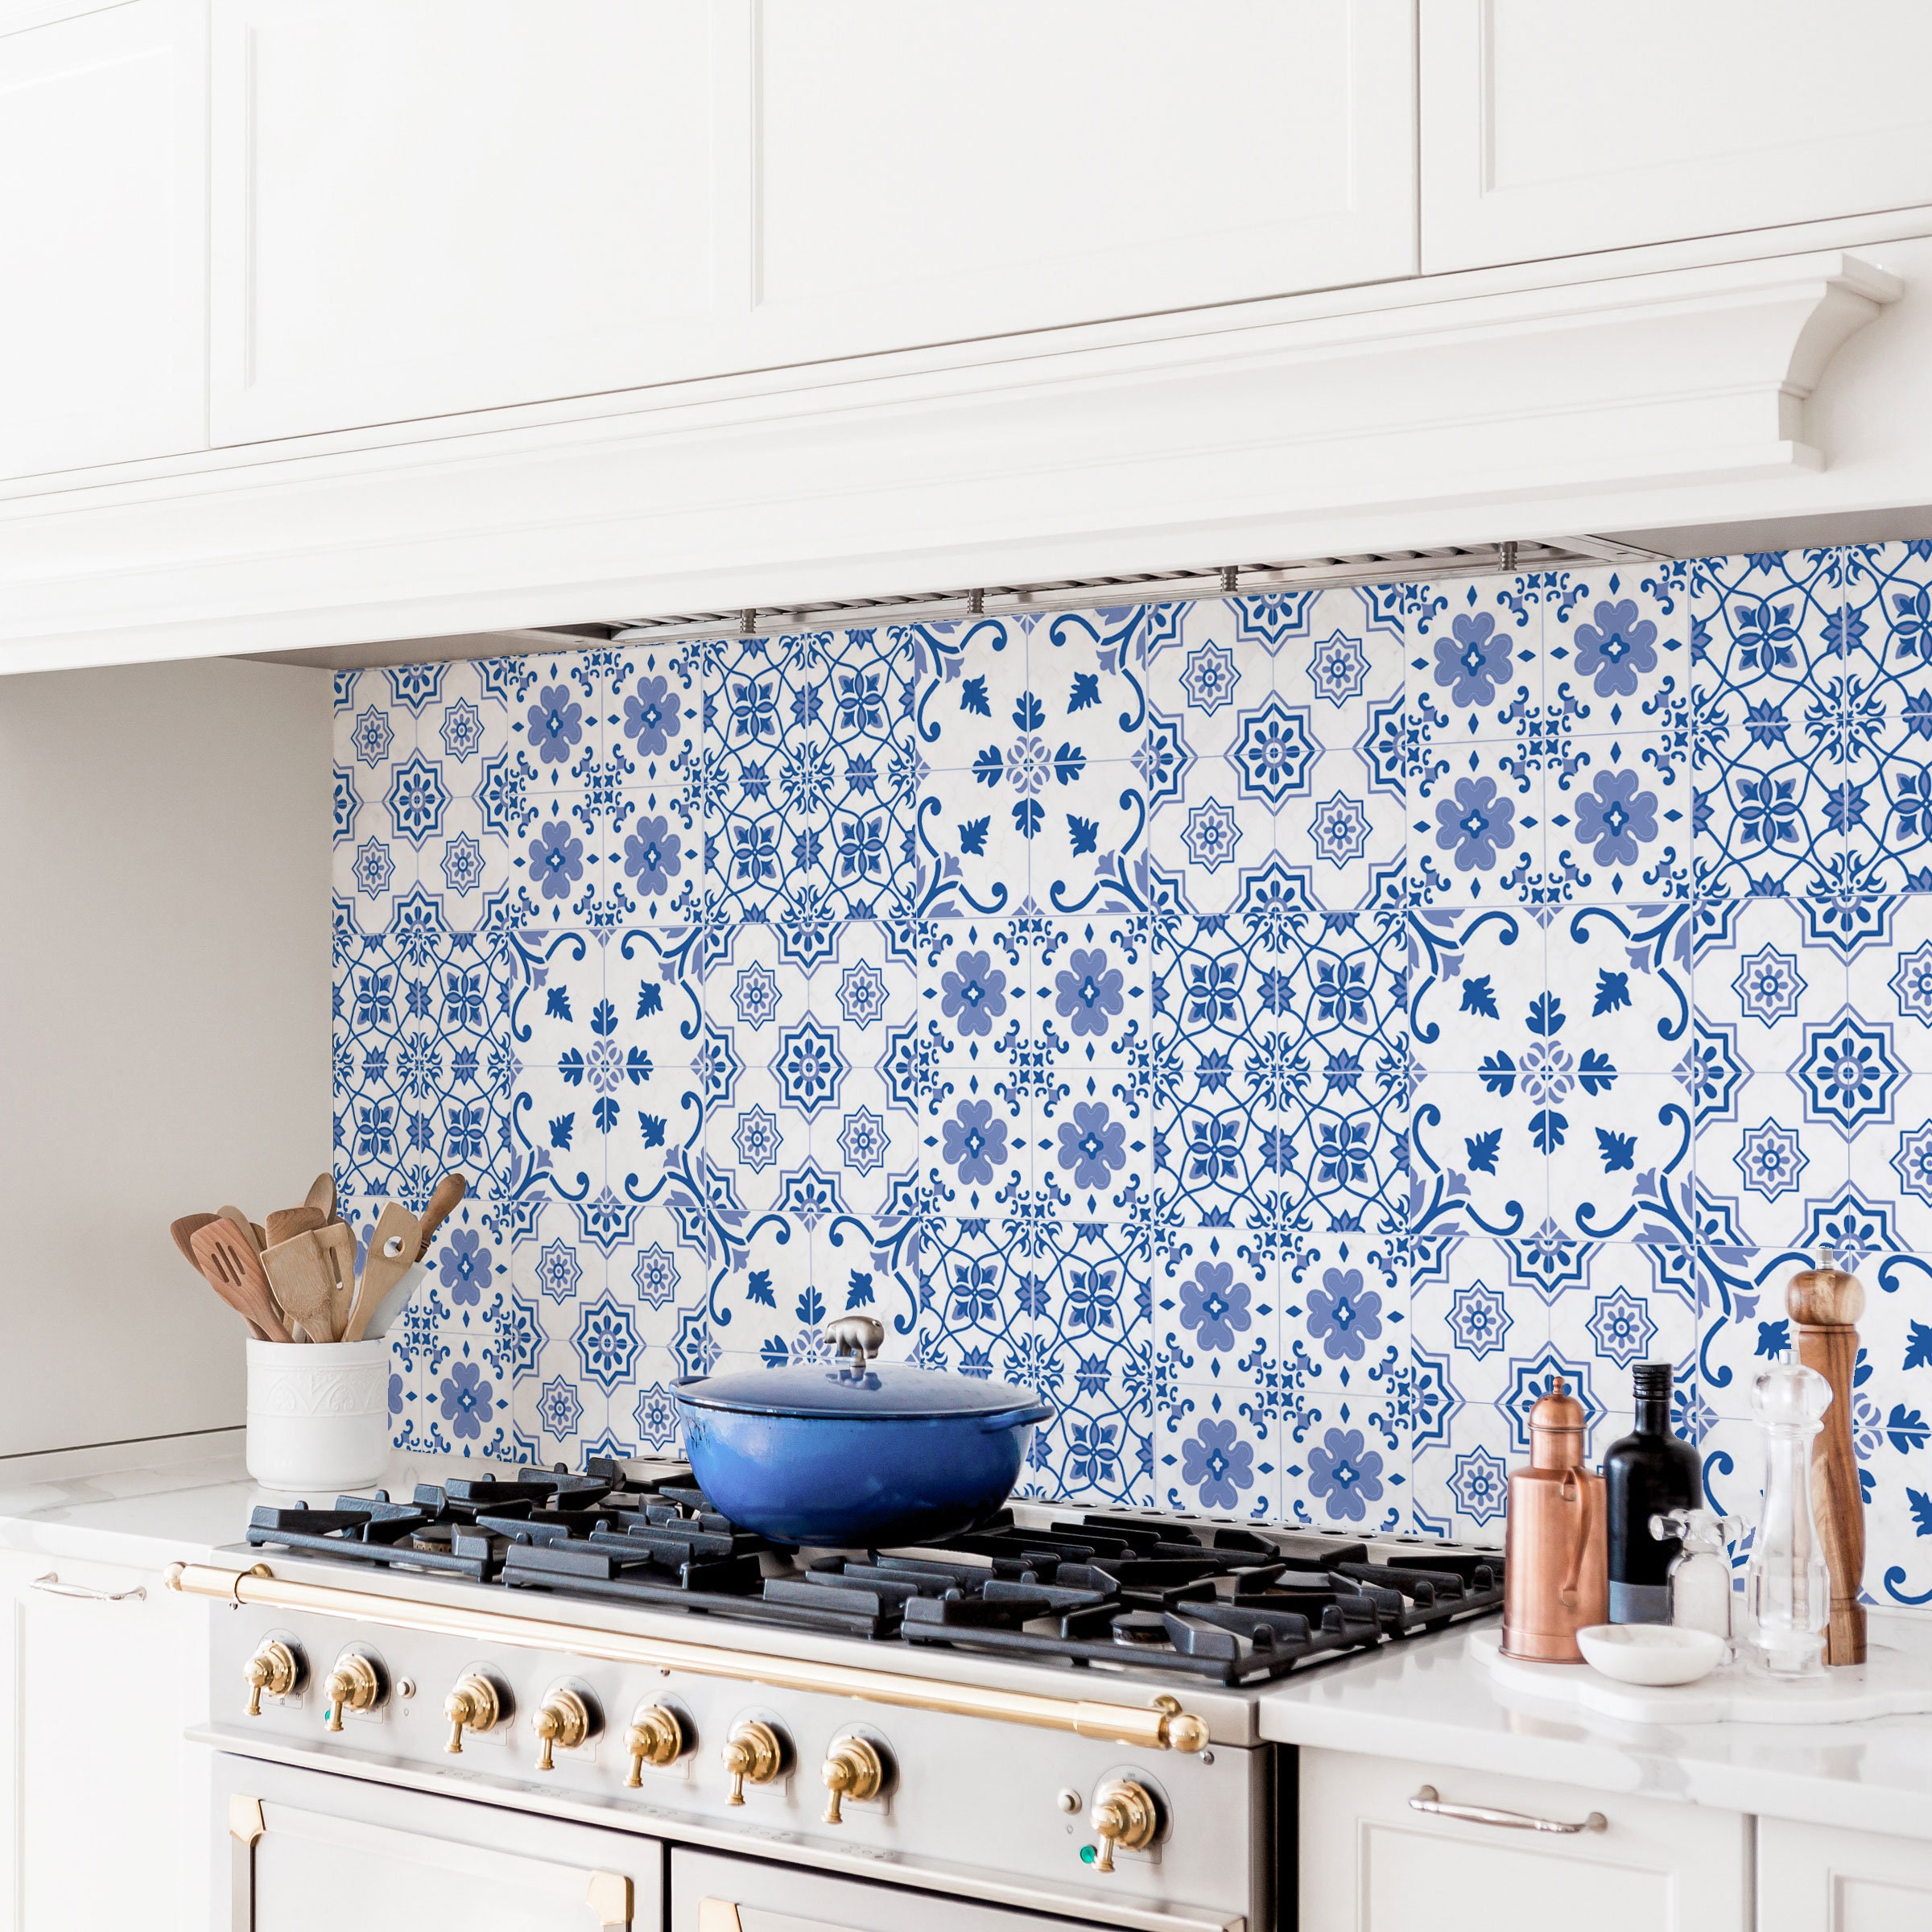
Not all removable wallpaper is suited to a backsplash specifically, but products rated for kitchen and bath use, with proper moisture and grease resistance, can genuinely stand in for a tile backsplash in lower-splash areas.
- Confirm the specific product is rated for kitchen or bathroom use before purchasing, this is not interchangeable with standard decorative wallpaper.
- Clean and degrease the wall thoroughly before application.
- Apply in sections, smoothing carefully to avoid trapped air, exactly as with any peel-and-stick wallpaper.
- Reserve this option for lower-splash zones (behind open shelving, a coffee station) rather than directly behind stove burners.
- Wipe gently with a damp cloth for cleaning, rather than abrasive scrubbing that can wear the surface prematurely.
- Widest range of pattern and color options on this entire list
- Fully removable, ideal for renters wanting personality without commitment
- Works beautifully in lower-splash accent zones
Search terms: "kitchen rated removable wallpaper," "moisture resistant peel and stick wallpaper," "bathroom kitchen wallpaper"
Tempered Glass or Acrylic Panels
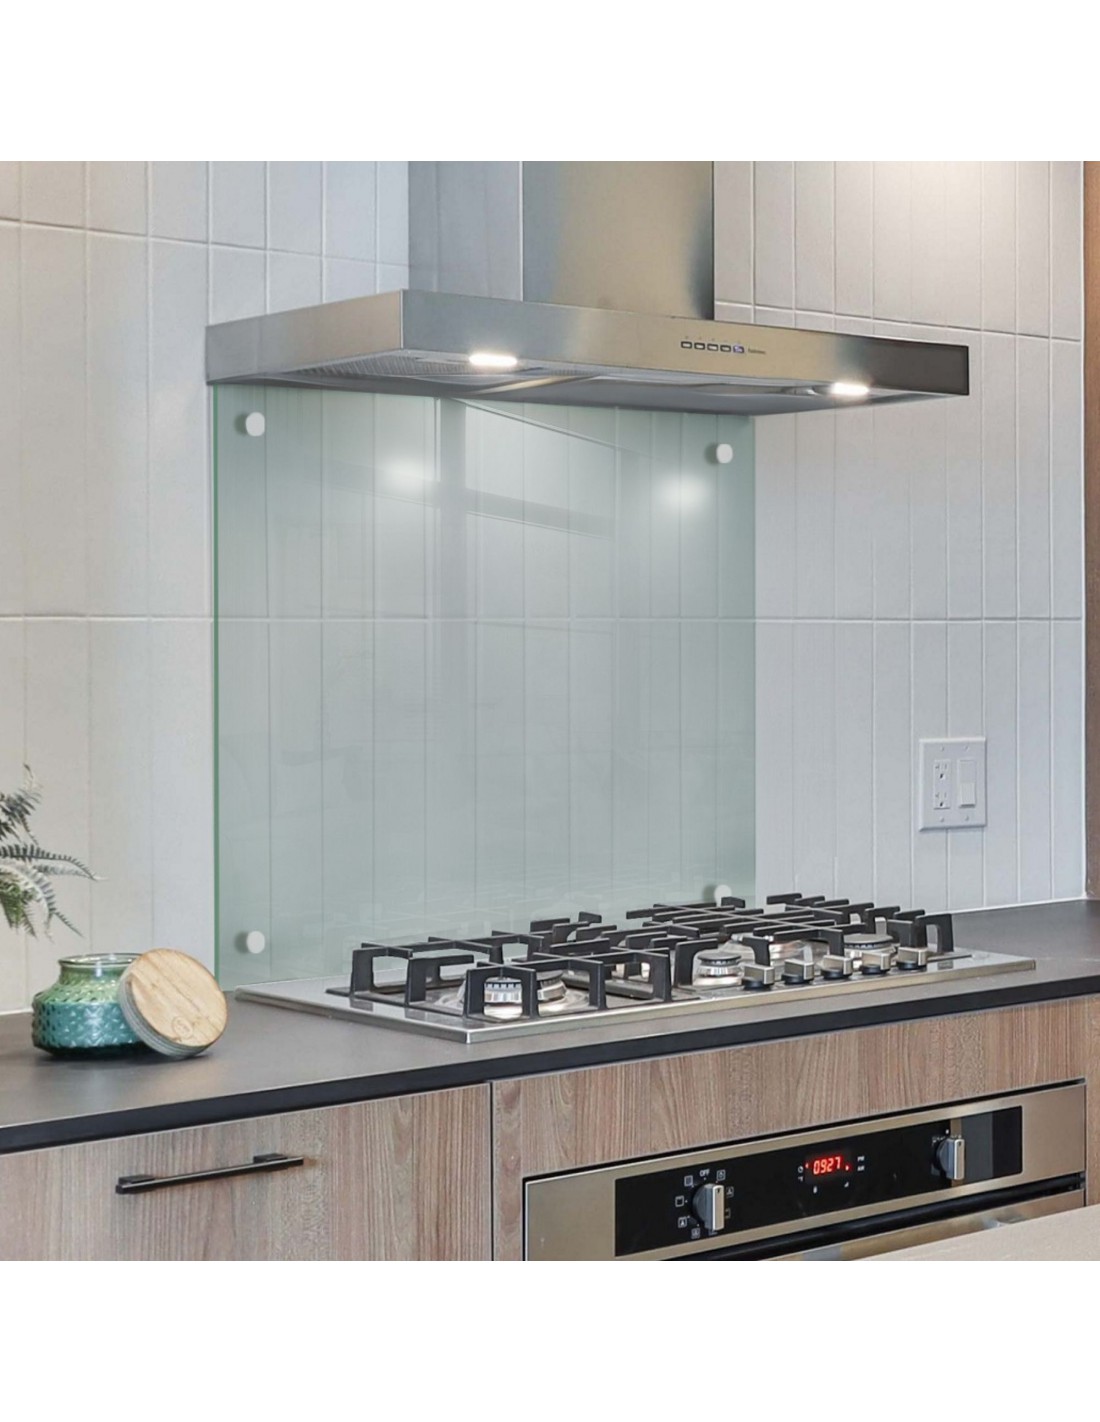
A homeowner shared that a single sheet of custom-cut tempered glass, mounted directly over her existing wall with standoff hardware, gave her kitchen a sleek, genuinely high-end look she'd previously assumed required a full stone slab installation.
- Measure precisely and order a panel custom-cut to your exact backsplash dimensions.
- Choose standoff mounting hardware appropriate for the panel's weight and thickness.
- Mark and drill mounting points carefully, using a level throughout to ensure the panel sits perfectly straight.
- Consider a colored or painted-back panel for a bold, seamless look with zero visible seams at all.
- Clean regularly with a standard glass cleaner, this material is among the easiest of all seven options to maintain.
- Genuinely seamless look with zero visible grout or tile lines
- Extremely easy to clean, resists grease buildup well
- Reads as a premium, custom installation
Search terms: "tempered glass backsplash panel," "acrylic backsplash sheet," "standoff mounting hardware glass panel"
Which Alternative Handles Heat and Grease Best
For the zone directly behind stove burners, prioritize metal panels or tempered glass, both are genuinely rated for sustained heat exposure. Peel-and-stick tile and large-format laminate panels handle typical splatter well but check specific heat ratings before placing close to direct flame. Painted stencil finishes and kitchen-rated wallpaper are better suited to lower-splash zones, behind a coffee station, open shelving, or a sink away from the stove, rather than direct stove-adjacent placement. When in doubt, mix materials, a small metal or glass panel directly behind the stove, paired with a more affordable or decorative option across the rest of the run.
Installation Difficulty Ranked
- Easiest: Peel-and-stick tile sheets, kitchen-rated wallpaper
- Easy: Painted faux-tile stencil
- Moderate: Large-format laminate/PVC panels, metal panels
- Moderate to Advanced: Beadboard paneling (requires cutting and sealing)
- Advanced: Tempered glass or acrylic with standoff mounting (precise measuring and drilling)
The Full Cost Comparison
| Alternative | Typical Cost |
|---|---|
| Peel-and-stick tile sheets | $30–90 |
| Metal panels | $60–180 |
| Beadboard paneling | $40–110 |
| Painted faux-tile stencil | $15–40 |
| Large-format laminate/PVC panel | $70–200 |
| Kitchen-rated removable wallpaper | $35–90 |
| Tempered glass/acrylic panel | $100–350 |
| Traditional tile, materials + installer | $400–1,200+ |
Common Questions
Which option is best for renters specifically? Peel-and-stick tile and kitchen-rated wallpaper are the most fully reversible without any wall damage; standoff-mounted glass requires drilling and is better suited to homeowners.
Can I combine more than one alternative in the same kitchen? Yes, a metal or glass panel directly behind the stove paired with a more affordable option elsewhere is a genuinely common, practical approach.
Which option requires the least special tooling? Peel-and-stick tile and painted stencil designs need only basic household tools; glass and metal panels typically require more precise cutting or drilling equipment.
How long do these alternatives typically last compared to real tile? Quality peel-and-stick and panel products are generally rated for several years of normal kitchen use; real tile remains more permanent, but at a substantially higher upfront cost and installation commitment.
A finished-looking backsplash was never actually locked behind tile's cost and mess. Every alternative here proves the same point: the visual result people notice has very little to do with which specific material sits behind it.
Start with the lowest-commitment option this weekend, a peel-and-stick sheet or a painted stencil test patch, and see how convincingly a fraction of tile's cost can still finish the room.
Shop the Story
- peel and stick subway tile backsplash
- brushed stainless backsplash panel
- beadboard panel sheet
- tile stencil kit
- large format laminate backsplash panel
- kitchen rated removable wallpaper
- tempered glass backsplash panel
- standoff mounting hardware glass panel
- clear polyurethane sealant
- acrylic backsplash sheet